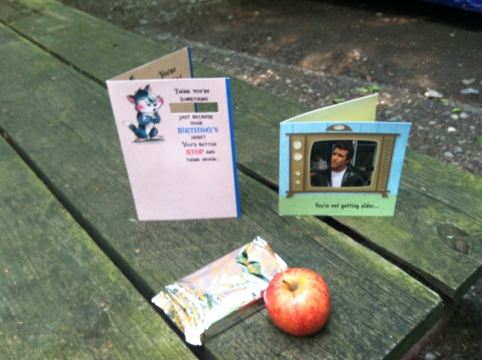
Say happy birthday to me! I’m not going to say exactly how old but let’s just say I’m fast approaching a 1/2 century!
Birthday cards from L and L. Thank you for the gift inside! It wasn’t the pop tart and apple, but that would be a neat trick.
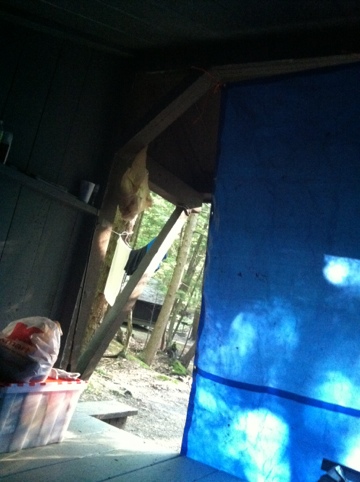
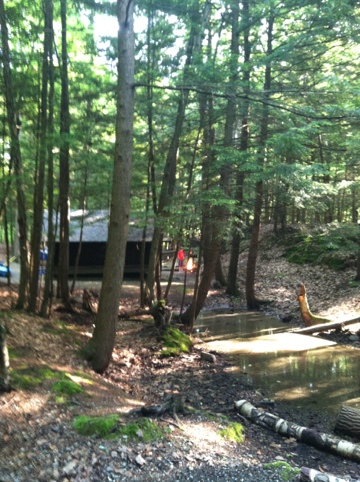
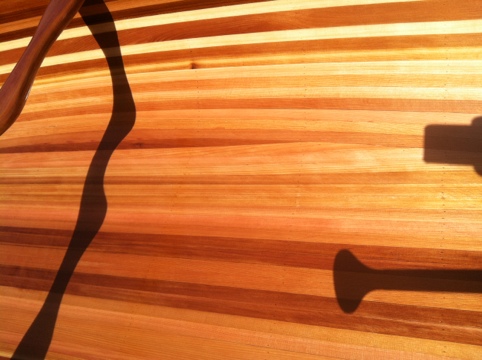
Early morning view out our lean-to.

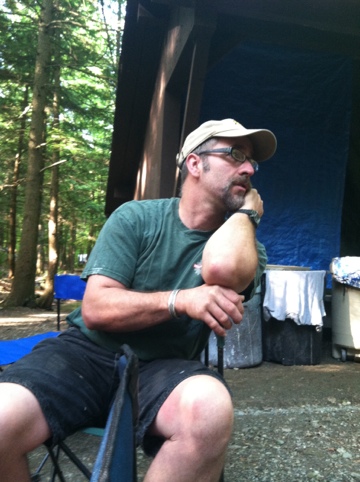
AMan gets the morning fire going.

Morning day 2.

B watching over the cooking activities.
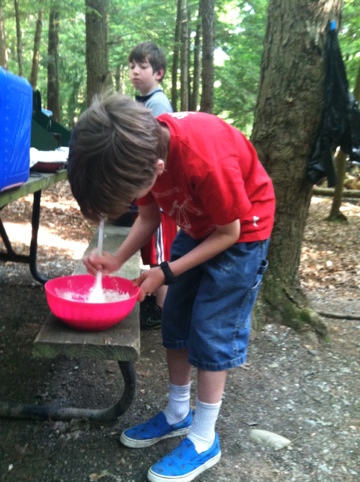
AMan whipping up the batter.

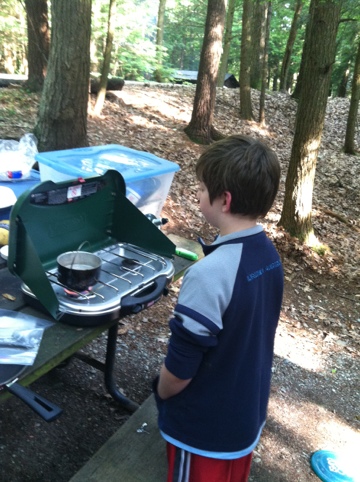
GMan on coffee water patrol.

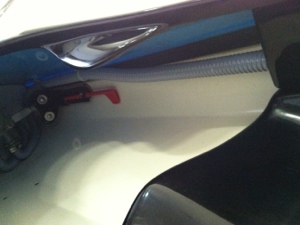
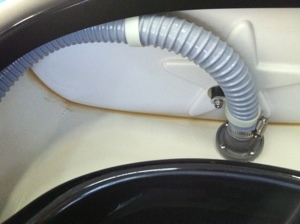
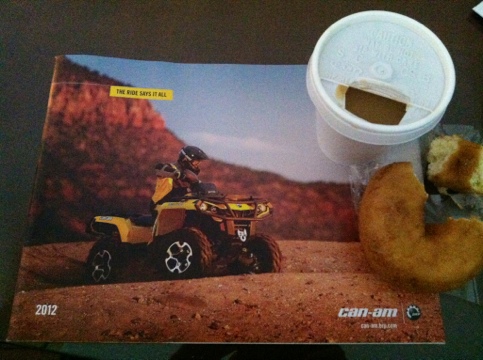
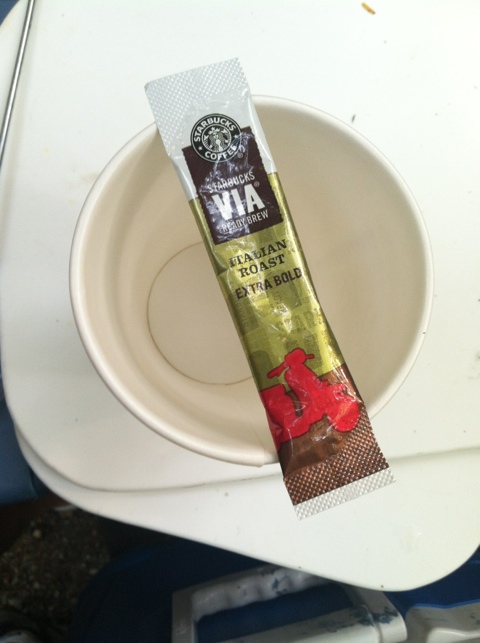
How to cure a fix in the woods. Simply empty content and add boiling water.
Where would we be without our iPhones. Its a sad state of affairs. However, I have not and will not check my email on this trip.

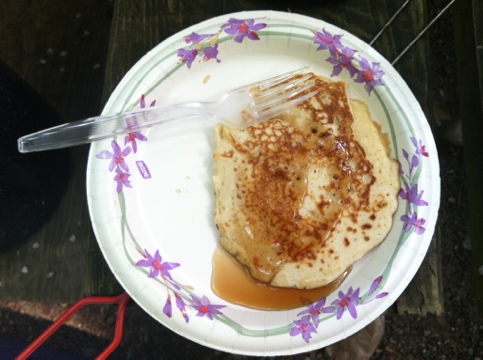
Yum, birthday pan cakes. Thanks to AMan for cooking.

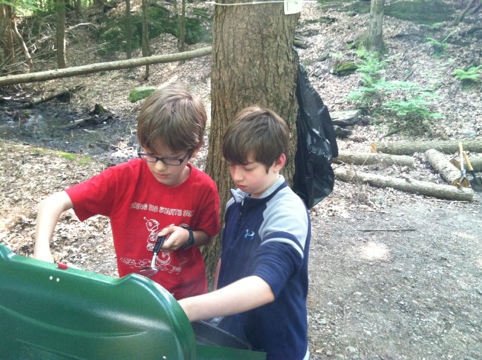
The boys manning the grill. GMan did a fine job on the bacon.
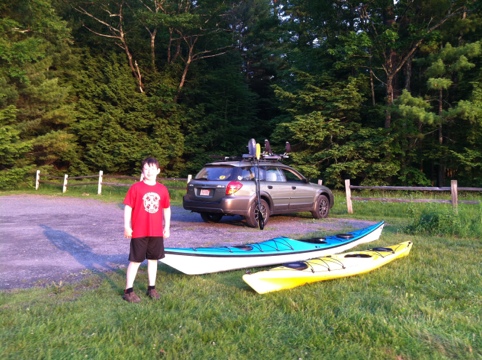
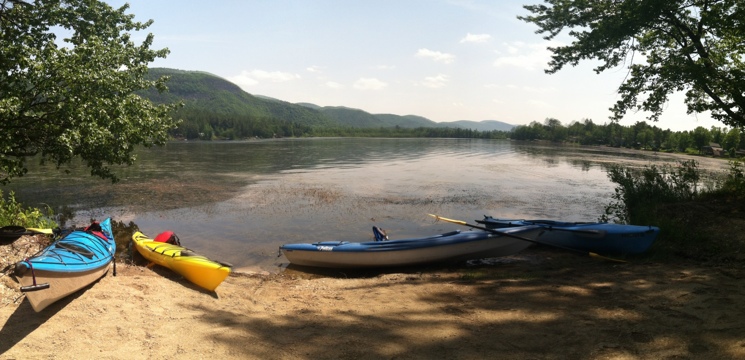
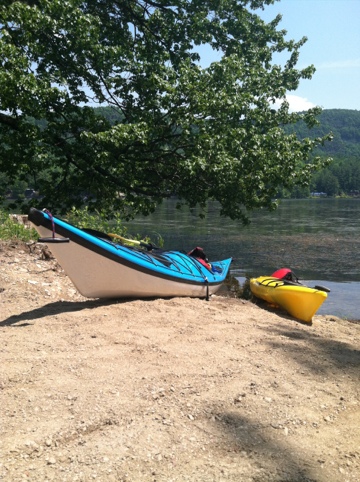
Today activities were kayaking, kayaking and more kayaking. We packed up and headed to the beach. The intention was to make it all the way to the end of the Little Lake. Going was easy as the lake was smooth as glass. After a bit GMan and myself moved ahead of B and AMan. By the time we got to the public boar landing B was towing AMan. We took a short break and headed out again looking for a sandy beach to put in and have lunch. Unfortunately all the sandy beaches were private property or Di it would seem. I paddled ahead of GMan and could not find anything. At this point I even wanted to get out and stretch my legs! We spotted a possible landing and paddled over. As we got closer we could see a man cutting grass. I paddle along side and ask if he owned the land and if we could put in. He replied with, absolutely it’s public land, help yourself! Great we said and out we got. We were so happy we even helped the guy move the picnic tables back into the shade.
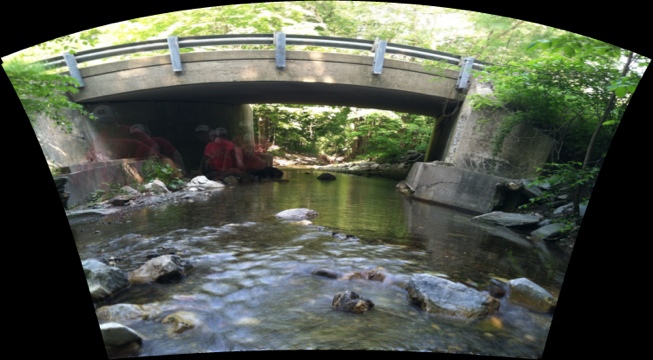
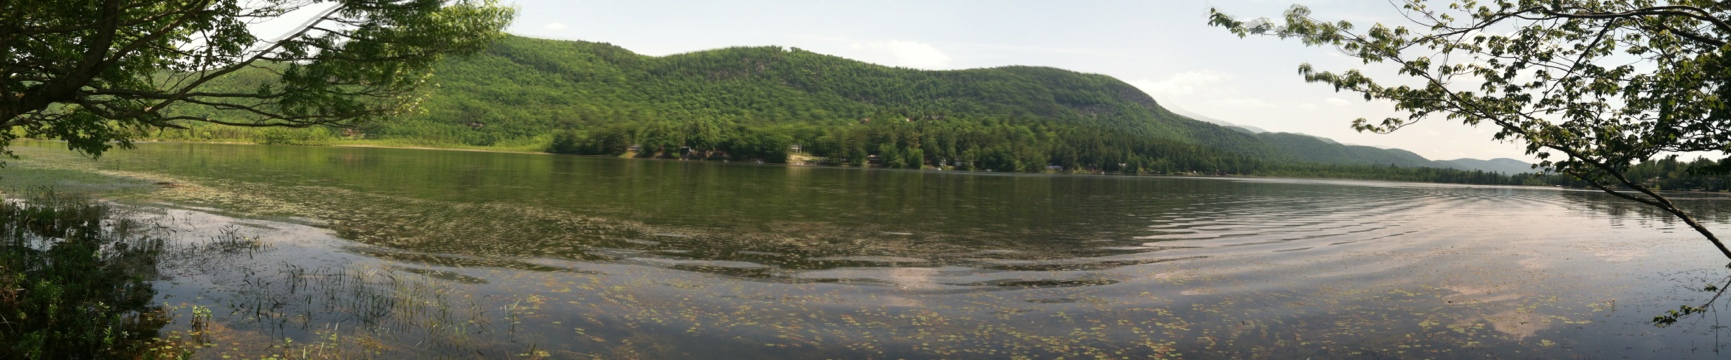
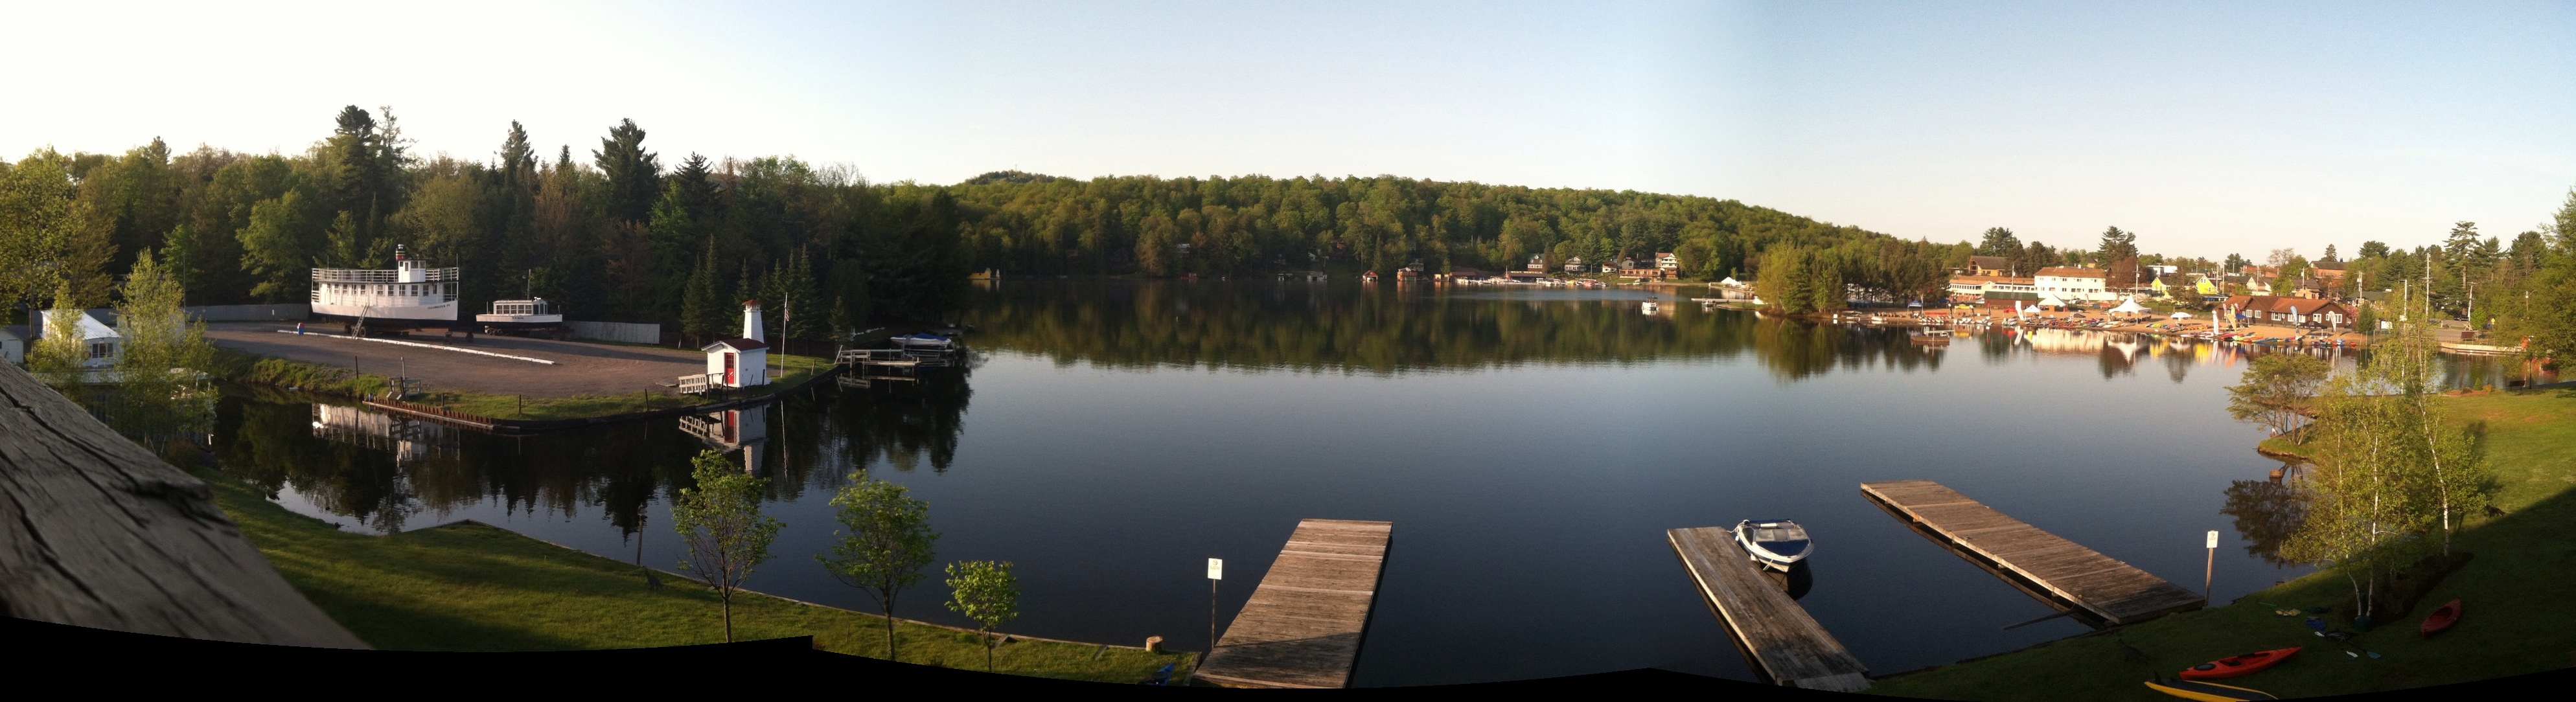
After lunch we messed around with th AutoStitch app on my phone. See the results below.
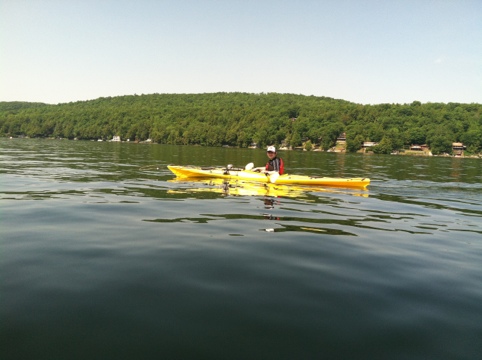
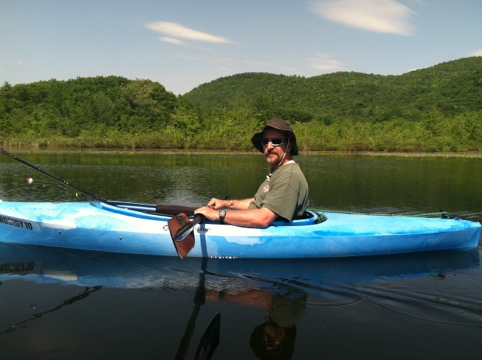
GMan under way.

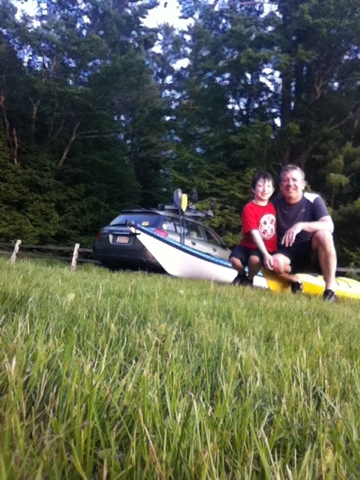
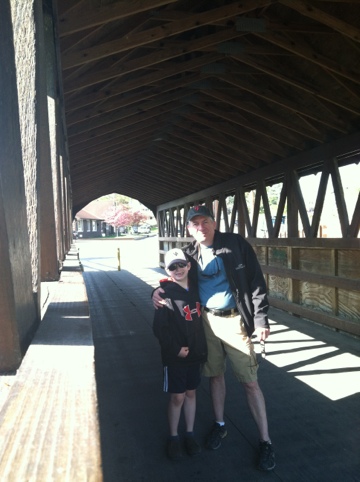
Me and the GMan in the background.

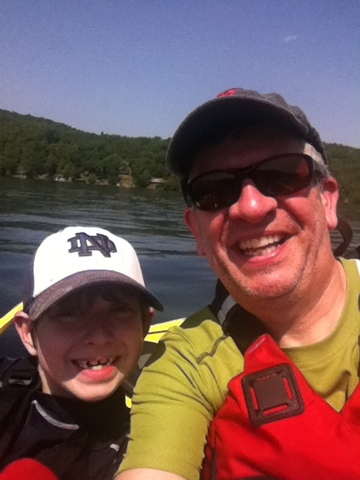
GMan and me!

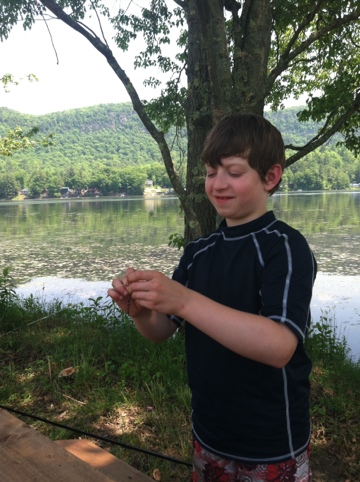
GMan picking the perfect worm.
AMan watching on.

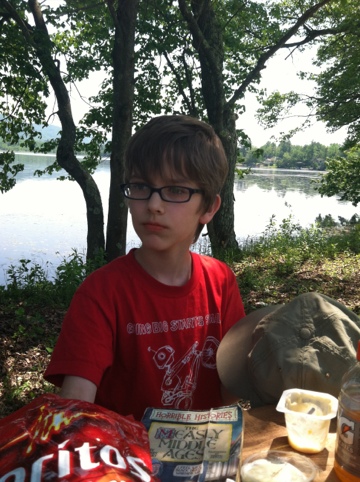
B hanging out.
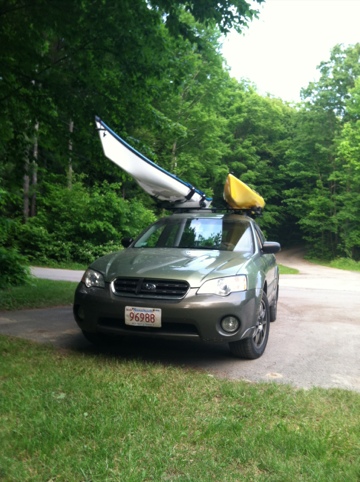
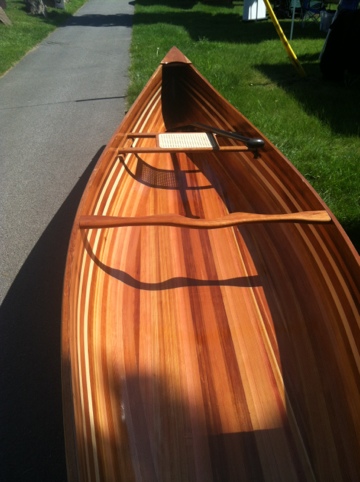
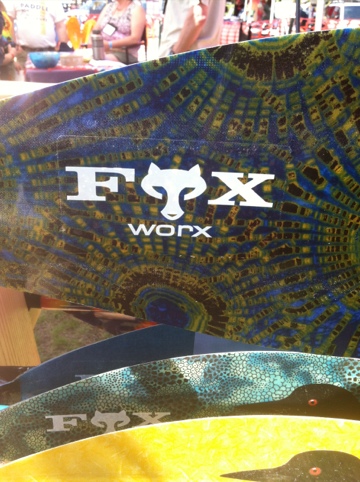
Our boat.
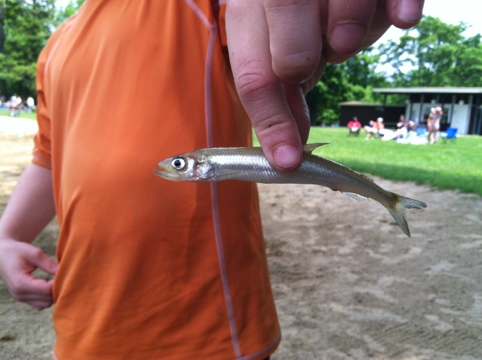
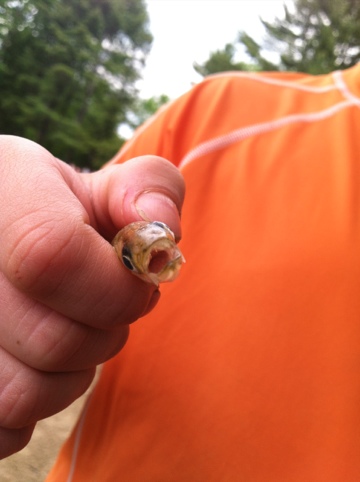
B catches a rear yellowboyfish.

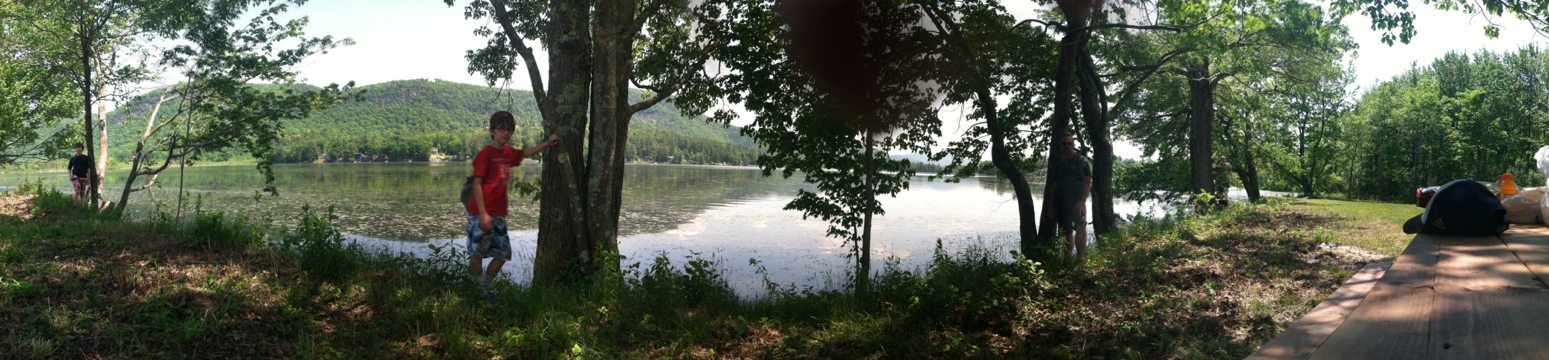
Pano of Little Lake – 1
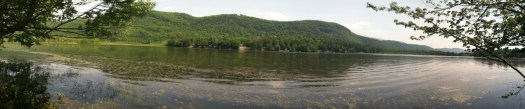
Pano of Little Lake – 2

We played around with AutoStitch were we each step in and back out then moved the camera and took another photo with another person and so. Nice effect and I’m impressed how the application dealt with the scene.

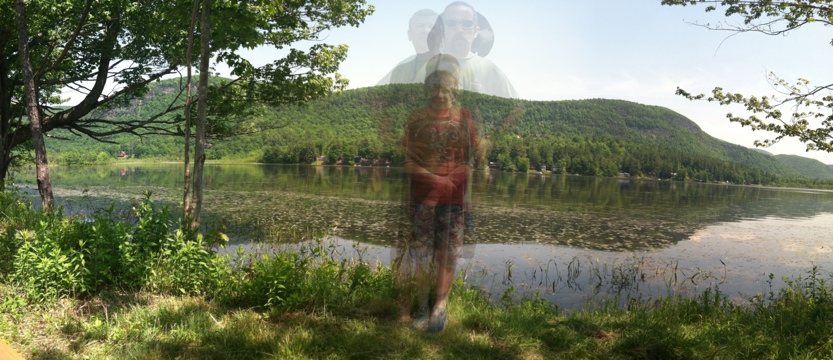
Another AutoStitch where we steps in and out of the scene and stood in the same spot.

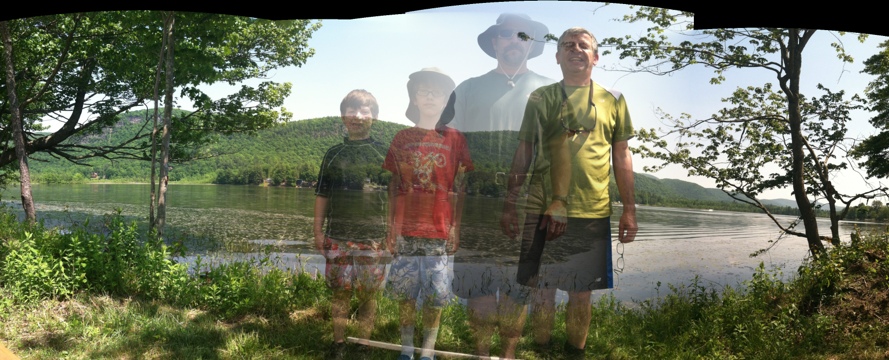
In this shot we step in, took a shot, step out and another person stepped in but moved to the left.

B under way.

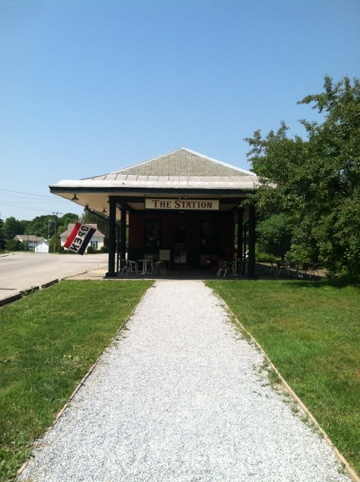
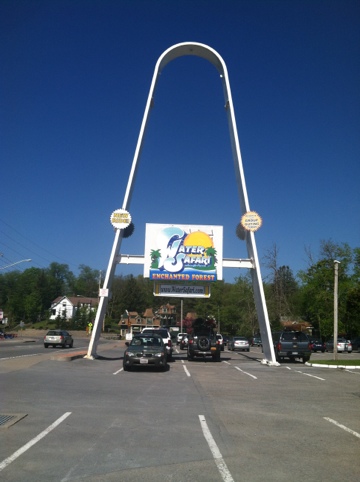
Subu on main street Pountney VT

Blogging in front of the camp fire. I’m sure there is a law against this somewhere but I don’t care! The trick with blogging here in way out there VT is to upload the photos with down town while sucking up the free wifi that the town provides. Pretty cool for a small town in VT but I’m can’t help but think if someone is watching everything that everyone is uploading, downloading and browsing?
Then when you get outside the wifi zone you add the text.
So the big news of the day is GMan’s wet exit. For those of you not familiar with kayaking that when you get out of your boat while in the middle of a body of water. In other words he fell out. The boat traffic builds as the day goes on and by the end of the afternoon the wave can be quite big. Not fast, but big rollers. At one second he was looking back at me giggling as he was having fun playing with the waves, but the next second he was upside down. Thanks to his PFD he popped right to the surface and started swimming to me. Now as a father I was concerned on many levels, but I knew if he got hold of my boat we’d both be swimming, and I didn’t wand his boat floating away. I asked him to swim to his boat and I’ll come to him. Mind you he only needed to go a few feet so I knew he’d be okay. I remember reading in a kayak book how to do a wet rescue so now I was putting it into practice.
I had him swim to the end of his boat and I grabbed the front and pulled it up and out of the water and flipped it right side up. I then pull the bow of his boat up on my combing and had him shimmy up on the of his boat.
At that point some nice locals showed up and offered to help and since he was 1/2 way up I figured I’d let him continue. He was so close but lost his balance and between the wash from the locals boat and another big wave I could now stop his boat from rotating and he fell in again.
Next attempt I encouraged him to stay closer to the boat as he shimmied up. This time it work and we all gave him a big cheer. He was a little upset but none the worse and we paddled on.
I told him he was the bravest boy on the lake and I’m very proud of him. I didn’t tell him we signed him up for a week of kayak camp where I’m sure he get in some not so dry time. BTW GMan said he wanted to go kayaking again tomorrow, but not so far! Cool stuff, get right back up on that horse.
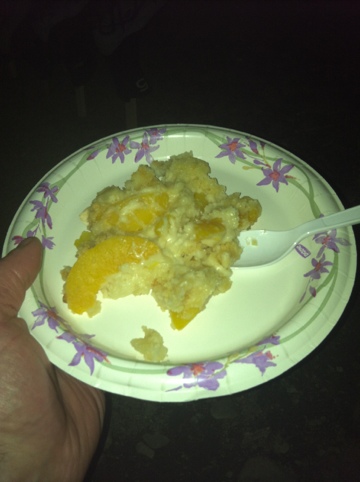
The boys made me hobo cake for my b-day. More on that later.
Hobo pie.

Evening fire.