
Installing memory in HP EliteBook
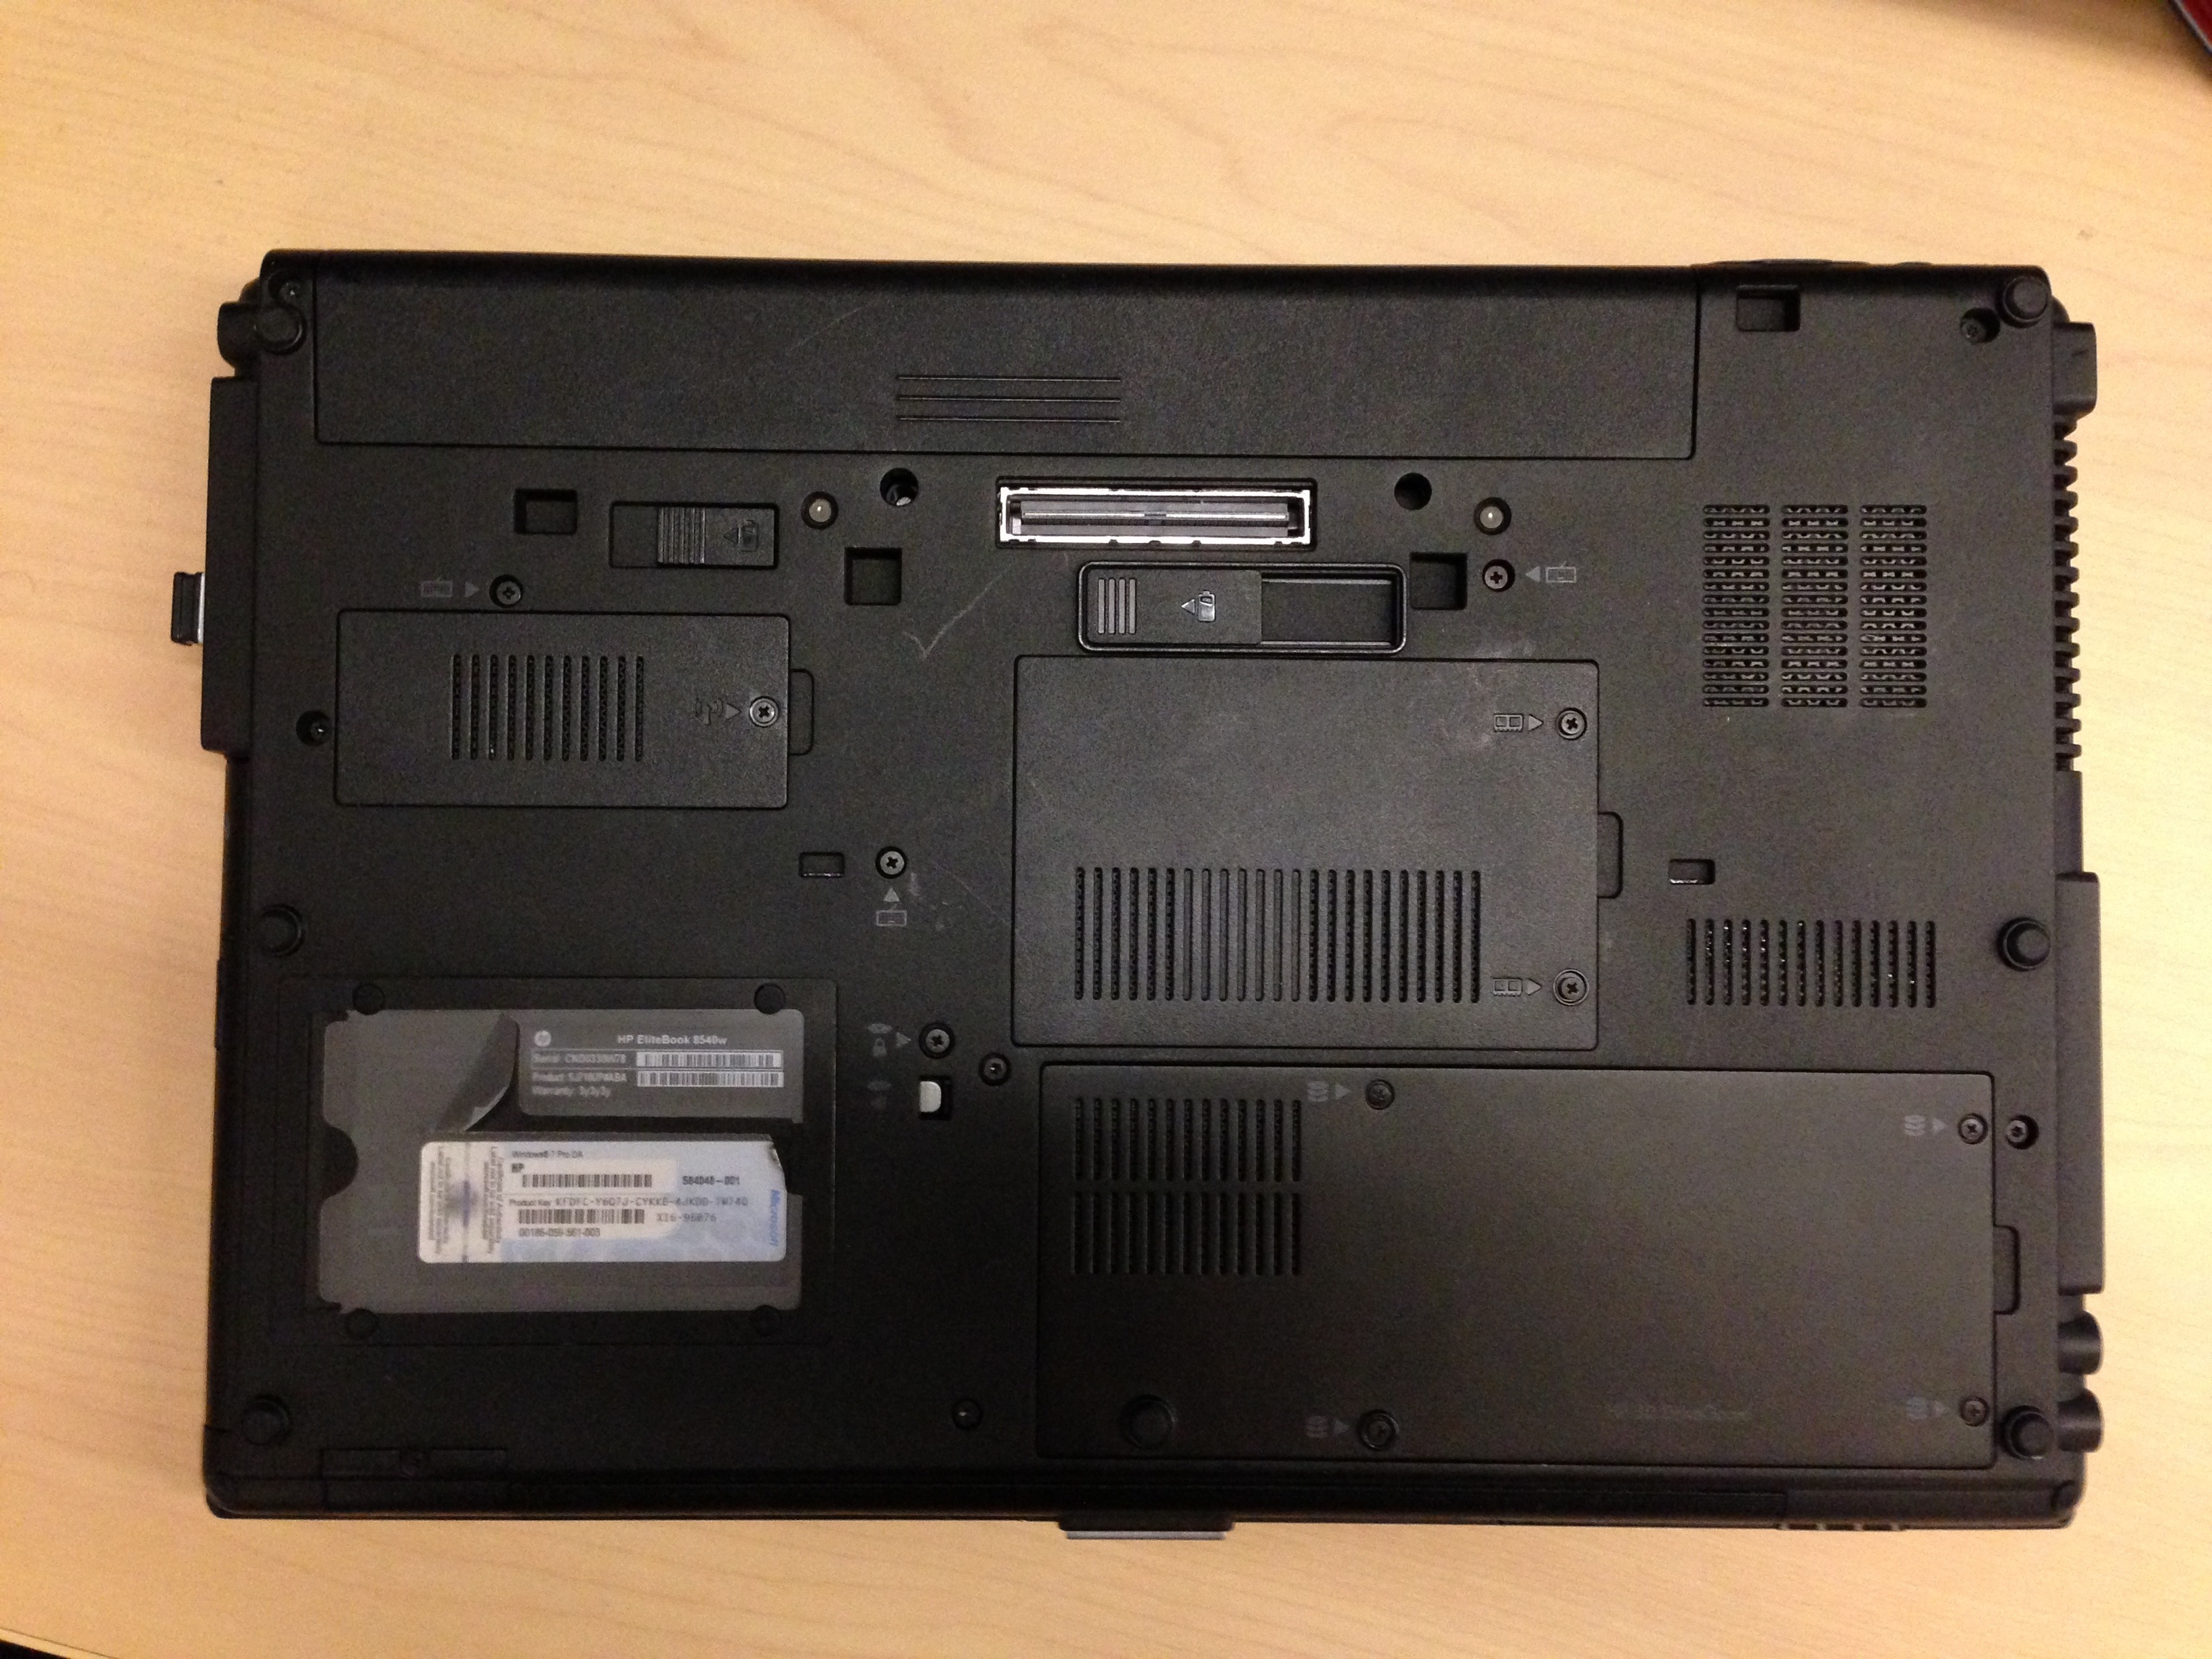
1. Turn off laptop and turn over.
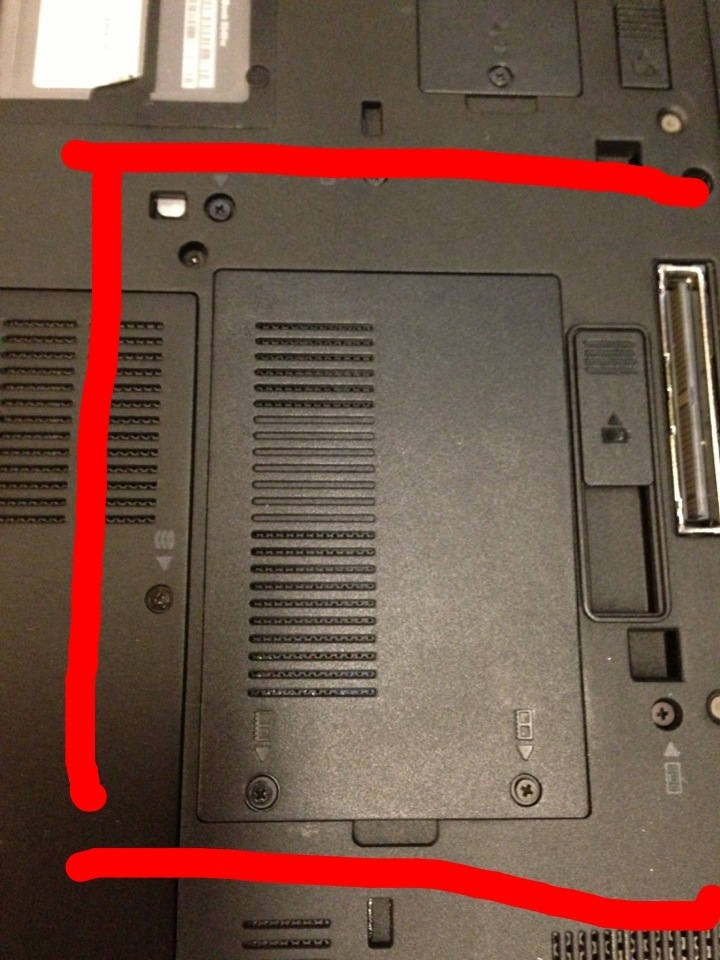
2. Find this panel and remove the two Philips head screws. Keep in mind the screws will not come completely out. Give the panel a good pull and it will come off.
3. It should look like this. However, yours may look different.

4. In the next photo one card is installed and the second is showing the angle at which the cards are inserted. Also, the cards can only go in one way, just look at the number of pins and line then up.
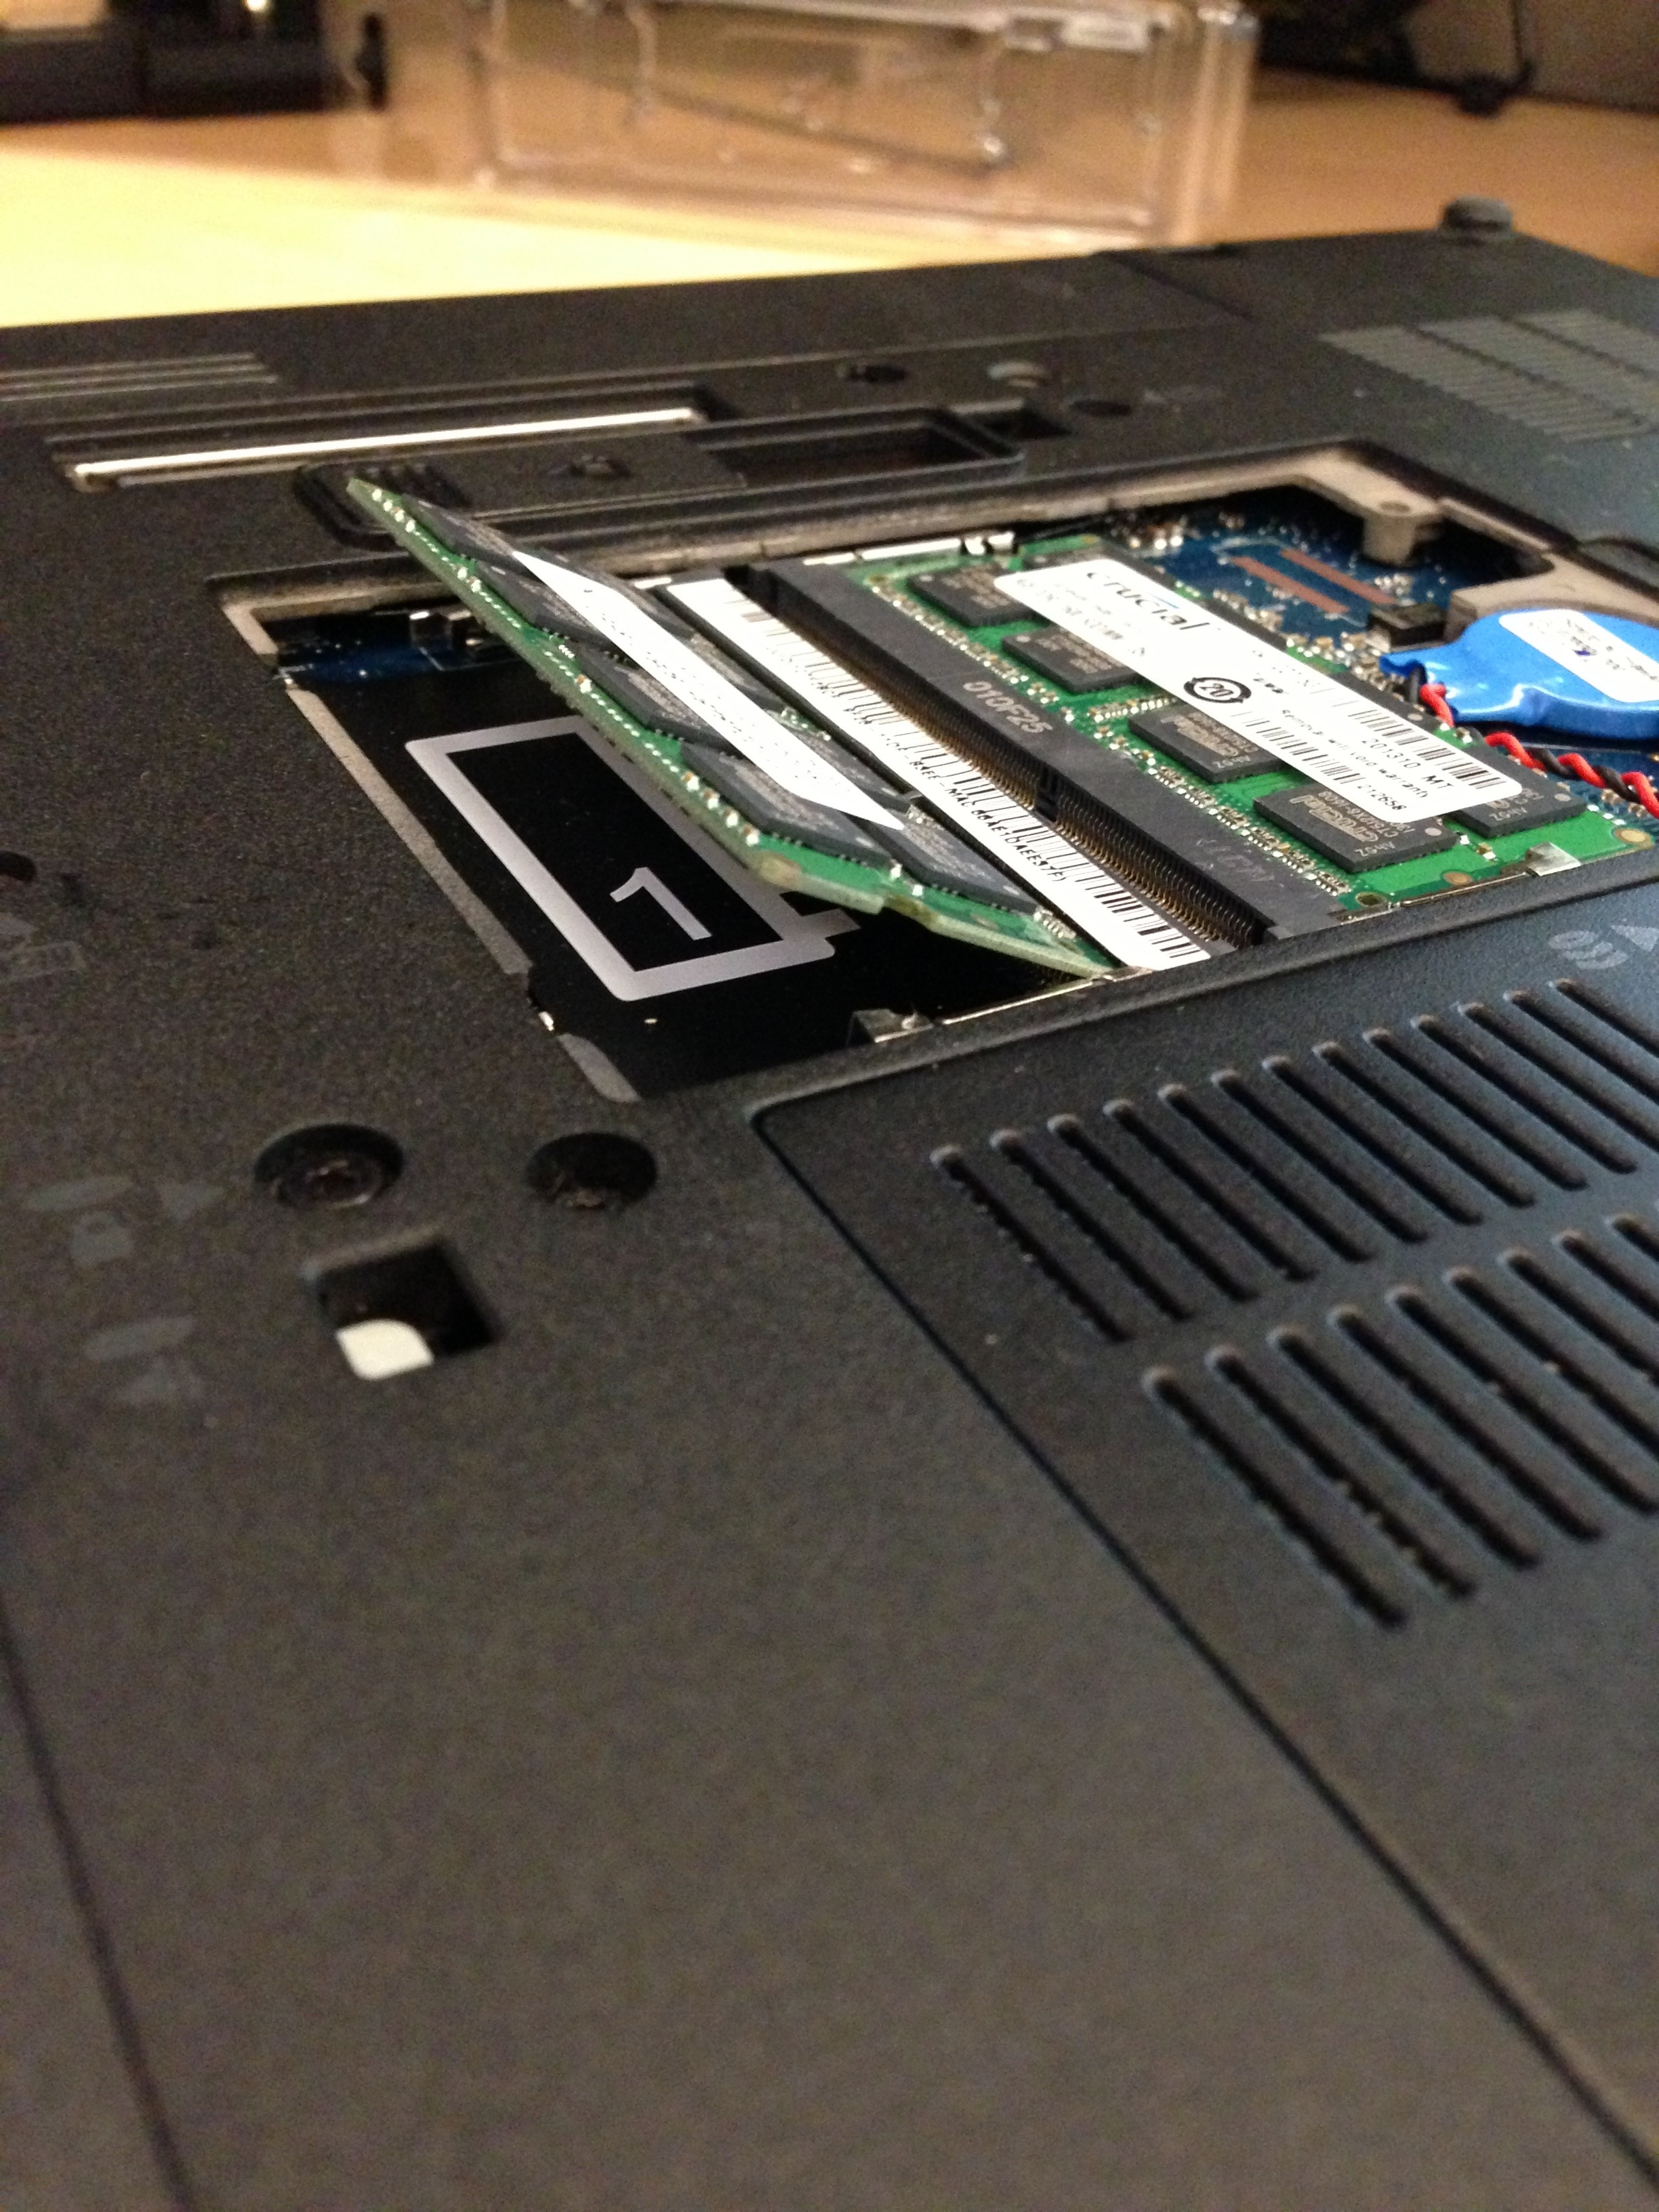
5. After the card is inserted at the correct angle push down on the outside corners. The little silver spring clips on either side are for holding the card in. See the red arrow in the next photo.

6. Since these card are one size fits all you may need to gently pry the silvers spring clips to the side and push down on the card at the same time to get them seated fully. You will hear a click when it happens. By the way I used a thumb tack to pry the clips.
This is what the finished product should look like. Don’t forget to put back on the cover.

By the way. I take no responsibility for any of the about! If the blue smoke get out of your laptop call IT.
